


We use python to write all of our scripts.
On our raspberry pi every python script starts with a shebang line : “#!/usr/bin/python”.
The shebang line tells raspberry pi the app that it needs to run the program.
This means that we are looking for the program python, witch is in the directory bin, witch is in the directory /usr, witch is in the top directory of our memory card.

When we start the pi we are usually in the desktop. This is inside your home directory, and is the same as “/home/pi/Desktop”.
Hello work only needs one line of instruction. It’s easy :p . The first thing you need to click is the raspberry “menu” on the top of your screen on the left hand side. The next thing you need to open is the “accessories” button. In the list of accessories you need to pick “text editor”
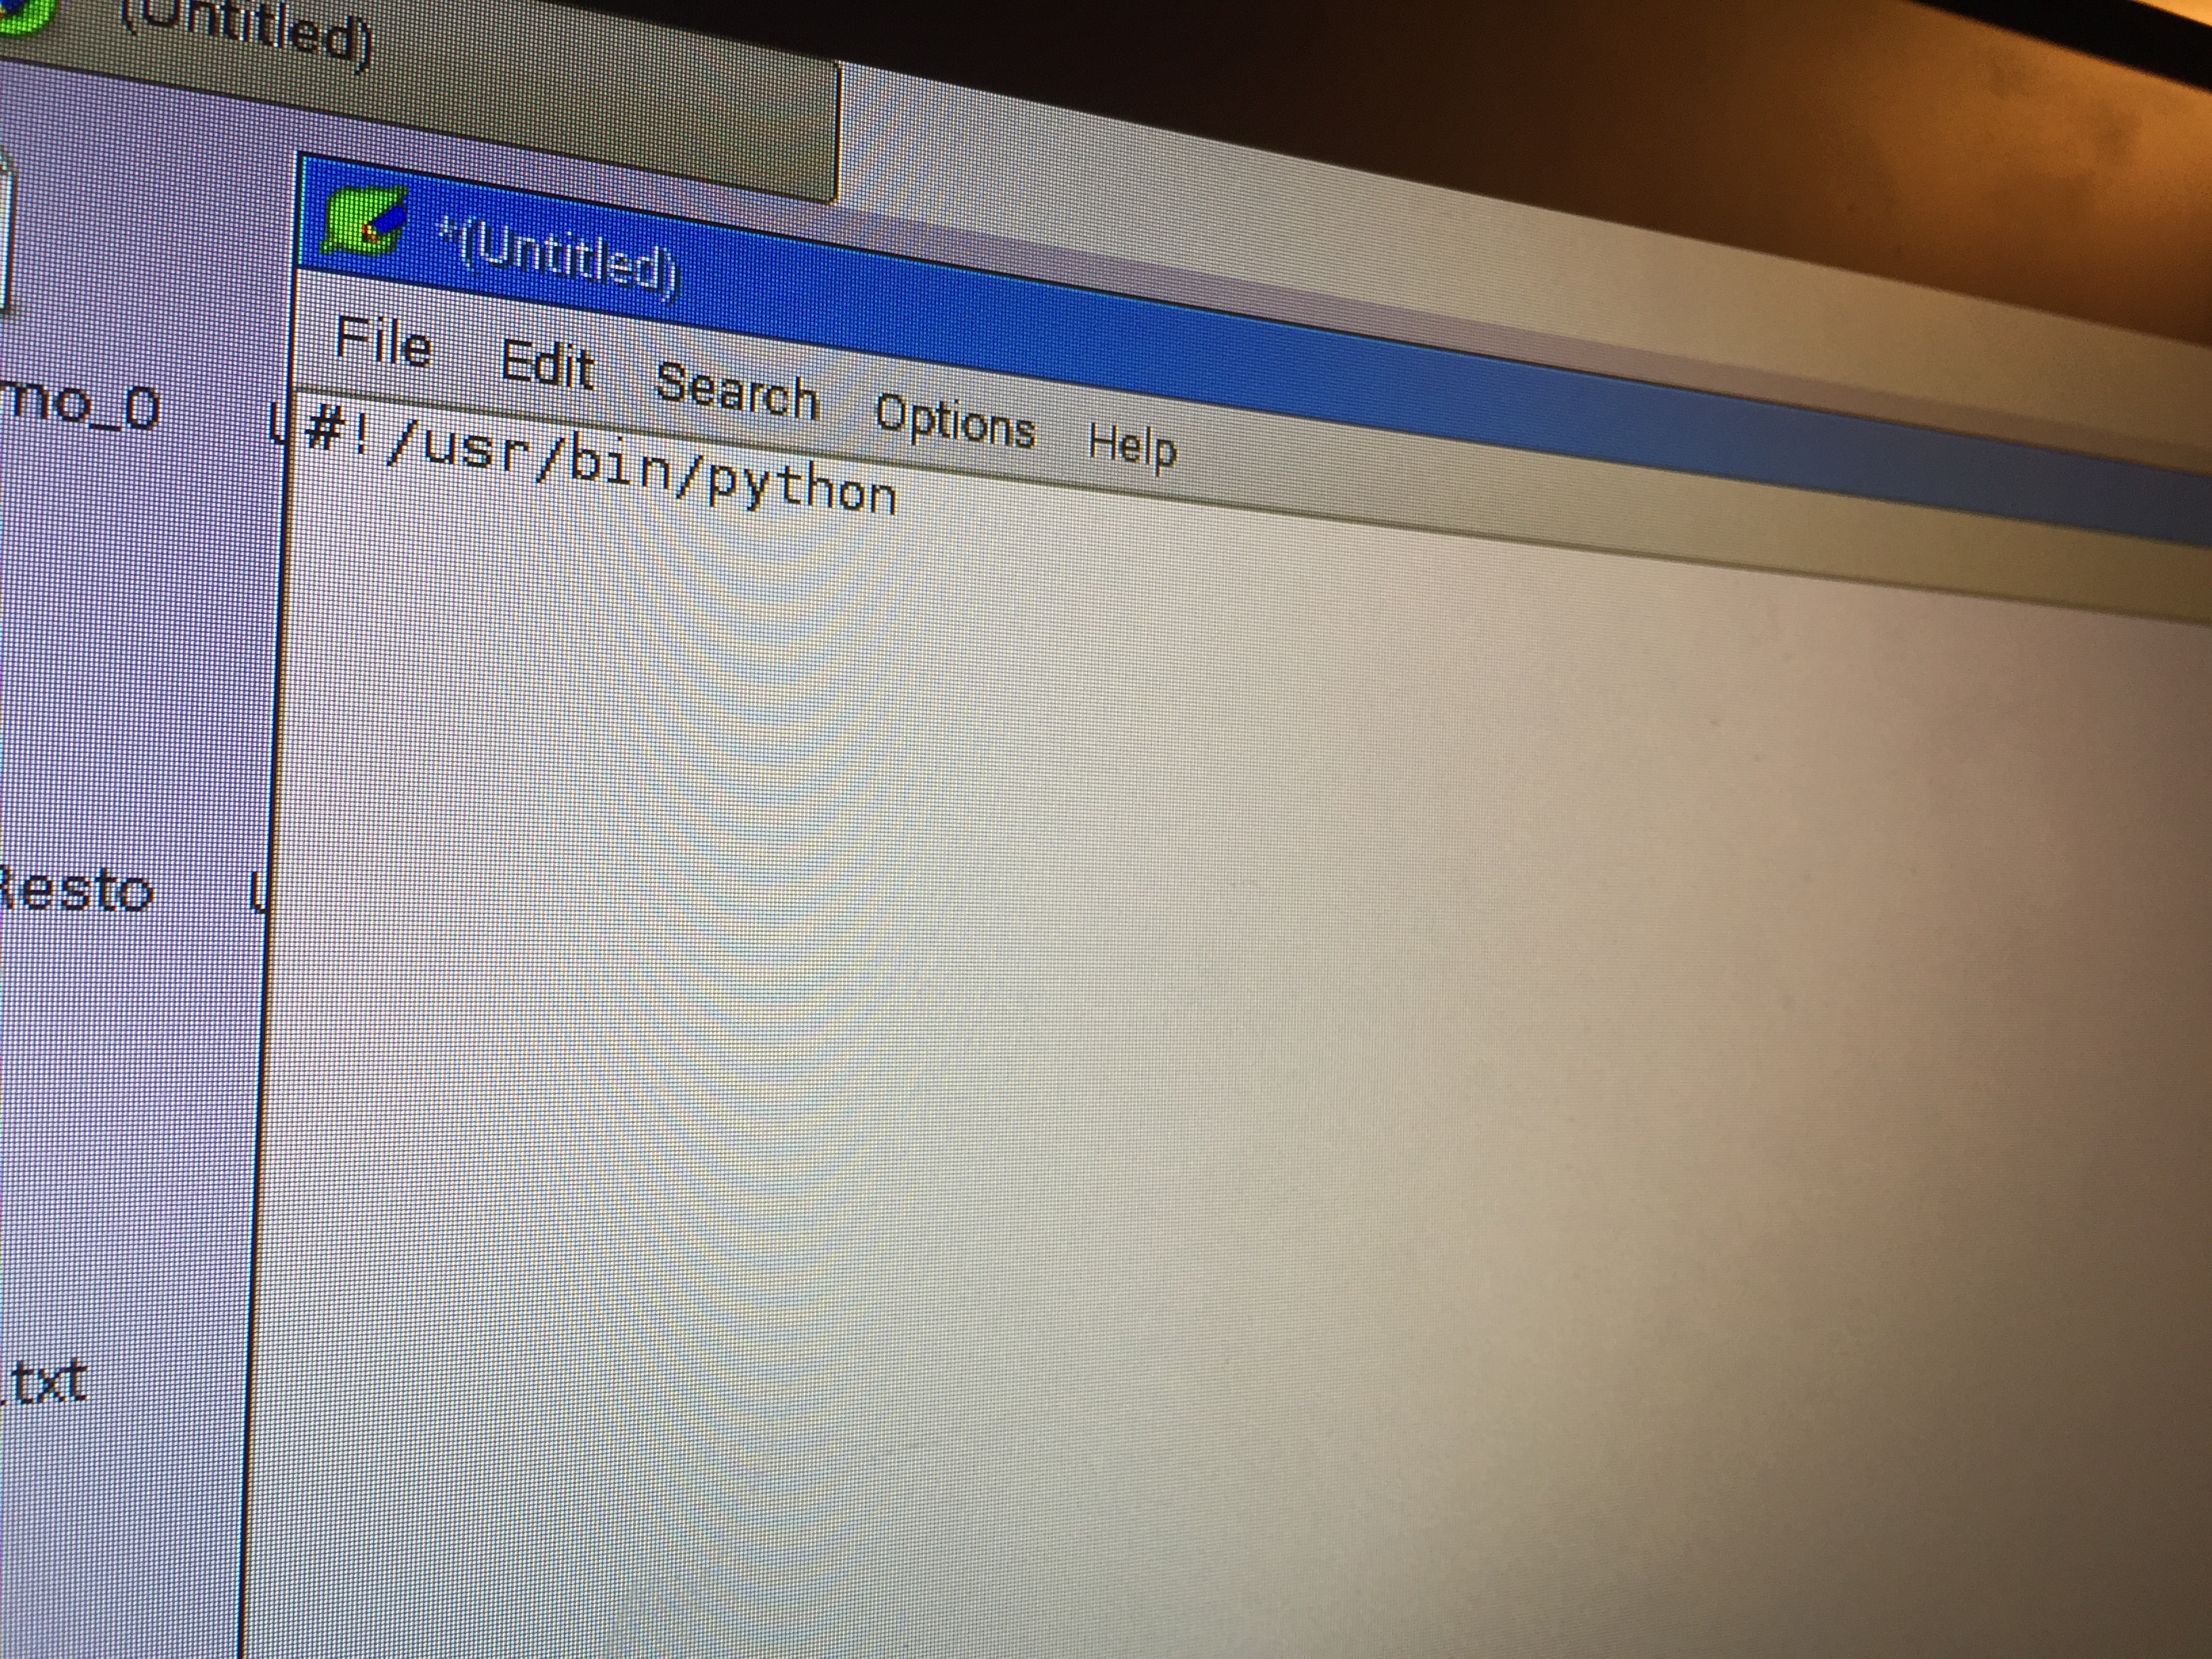
The first thing you will see is a white screen, kind of like “microsoft word”.
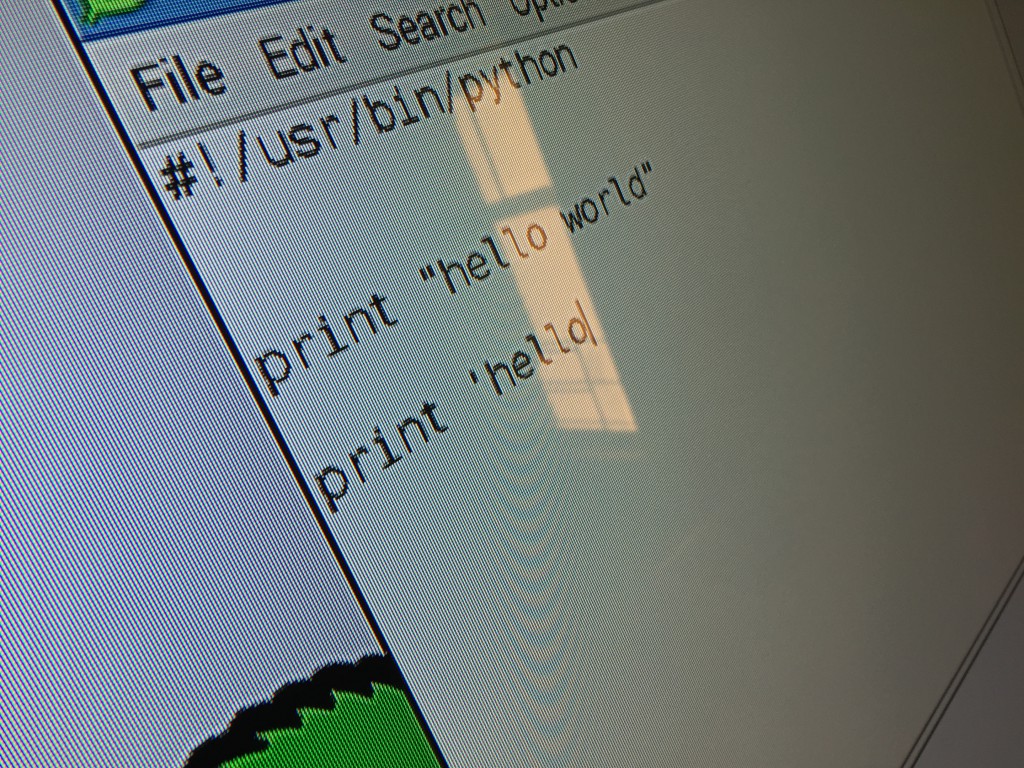
On the first line we put our shabang.
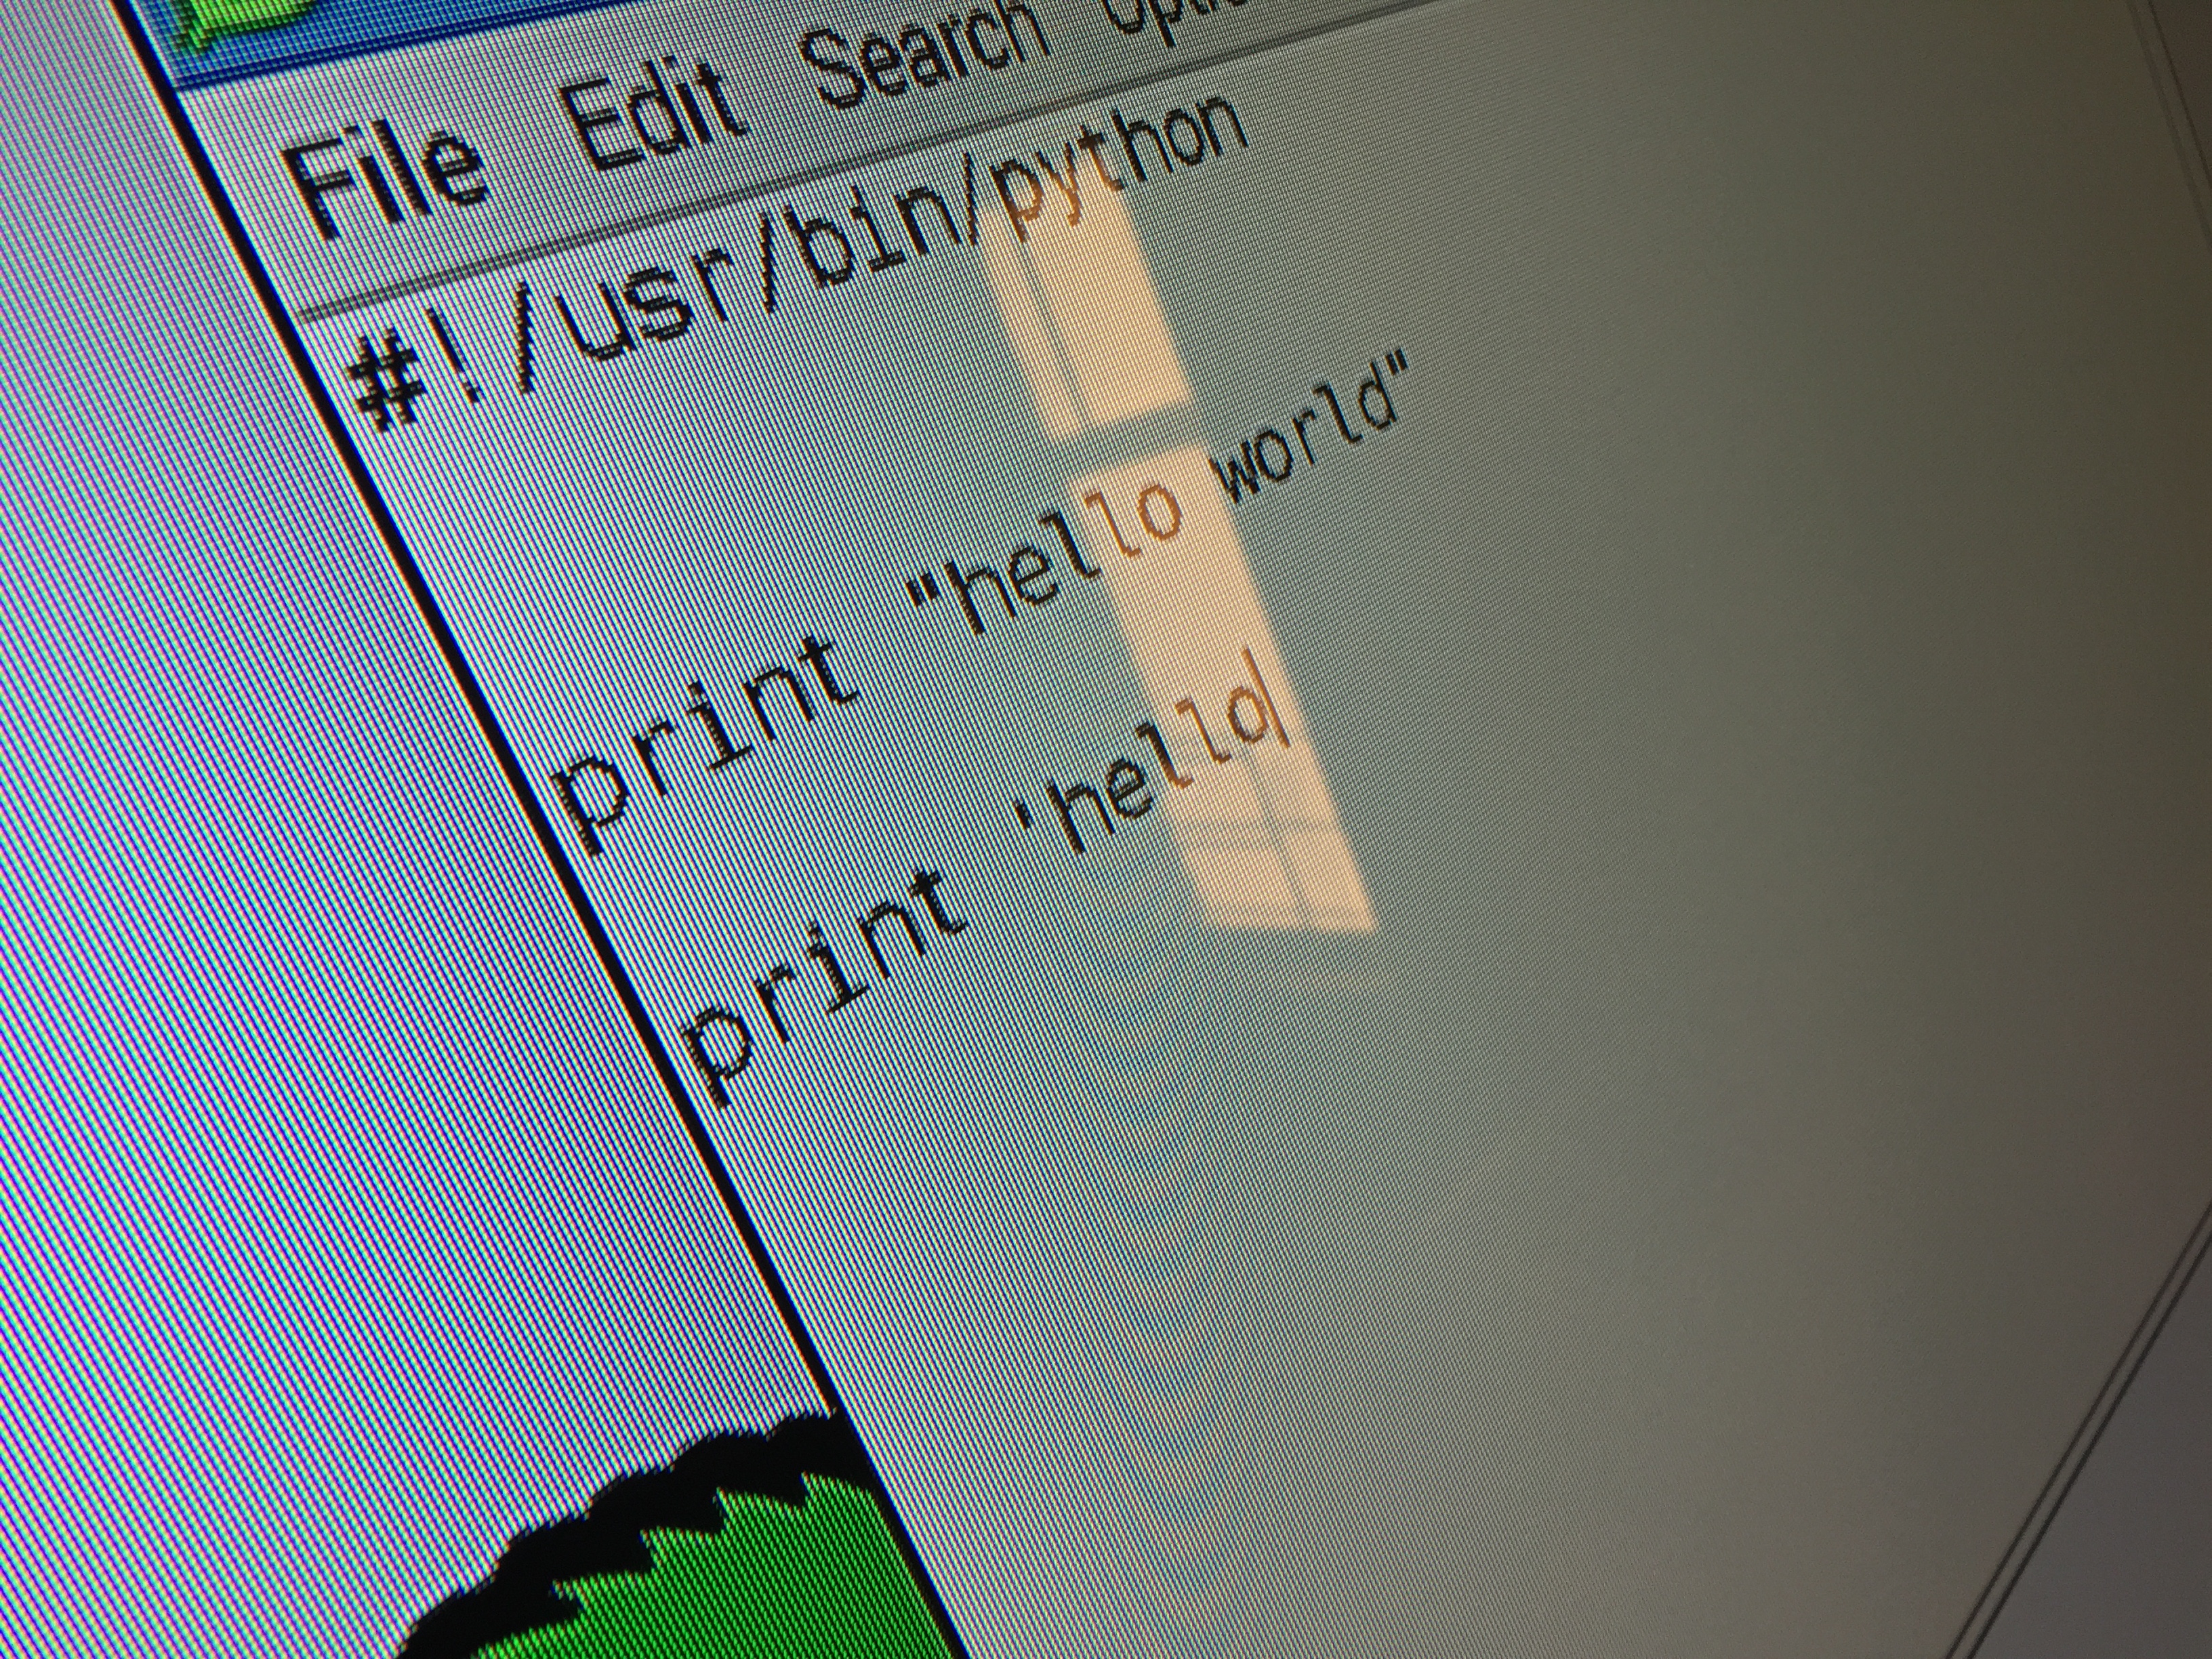
The second line should be :
print “hello world” .

In your text editor click on “file” and then “save”.
When it asks you where to save it choose “Desktop” and choose file name “test_one.py”.
The next thing you need to do is execute this file.
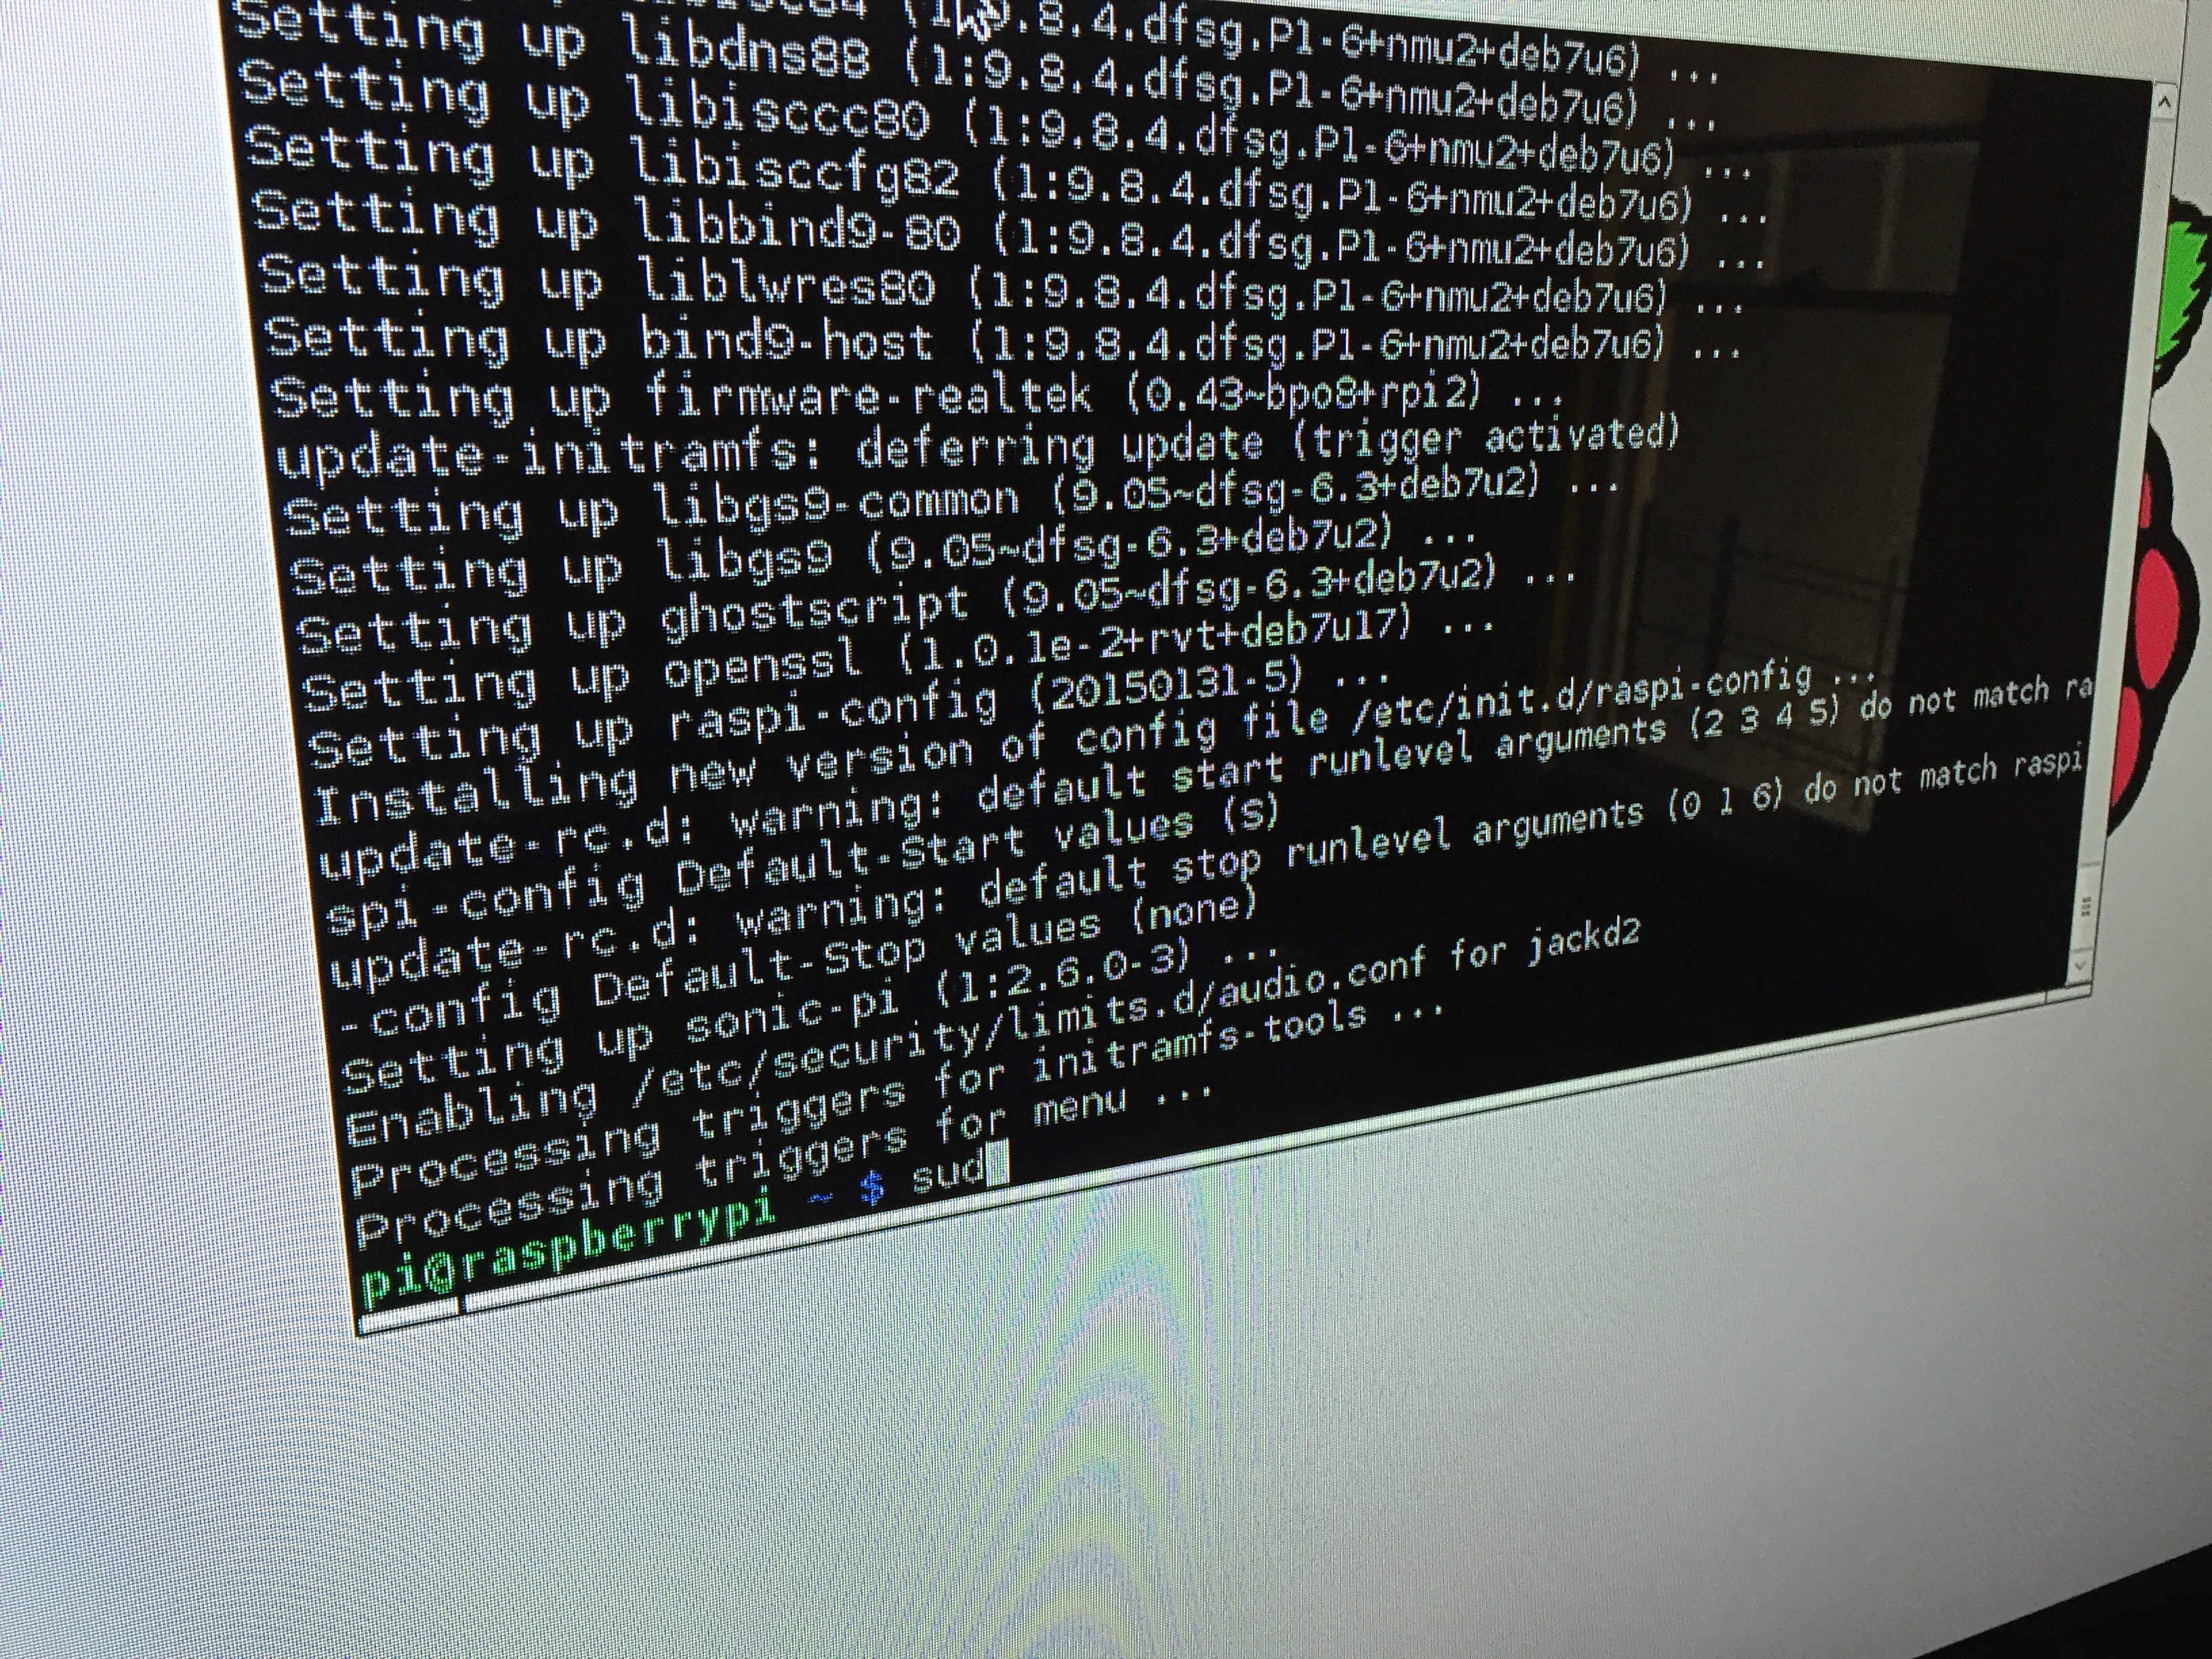
Go to terminal, like in our last lesson.
When you get to terminal you are in the home directory. This is “/home/pi”.
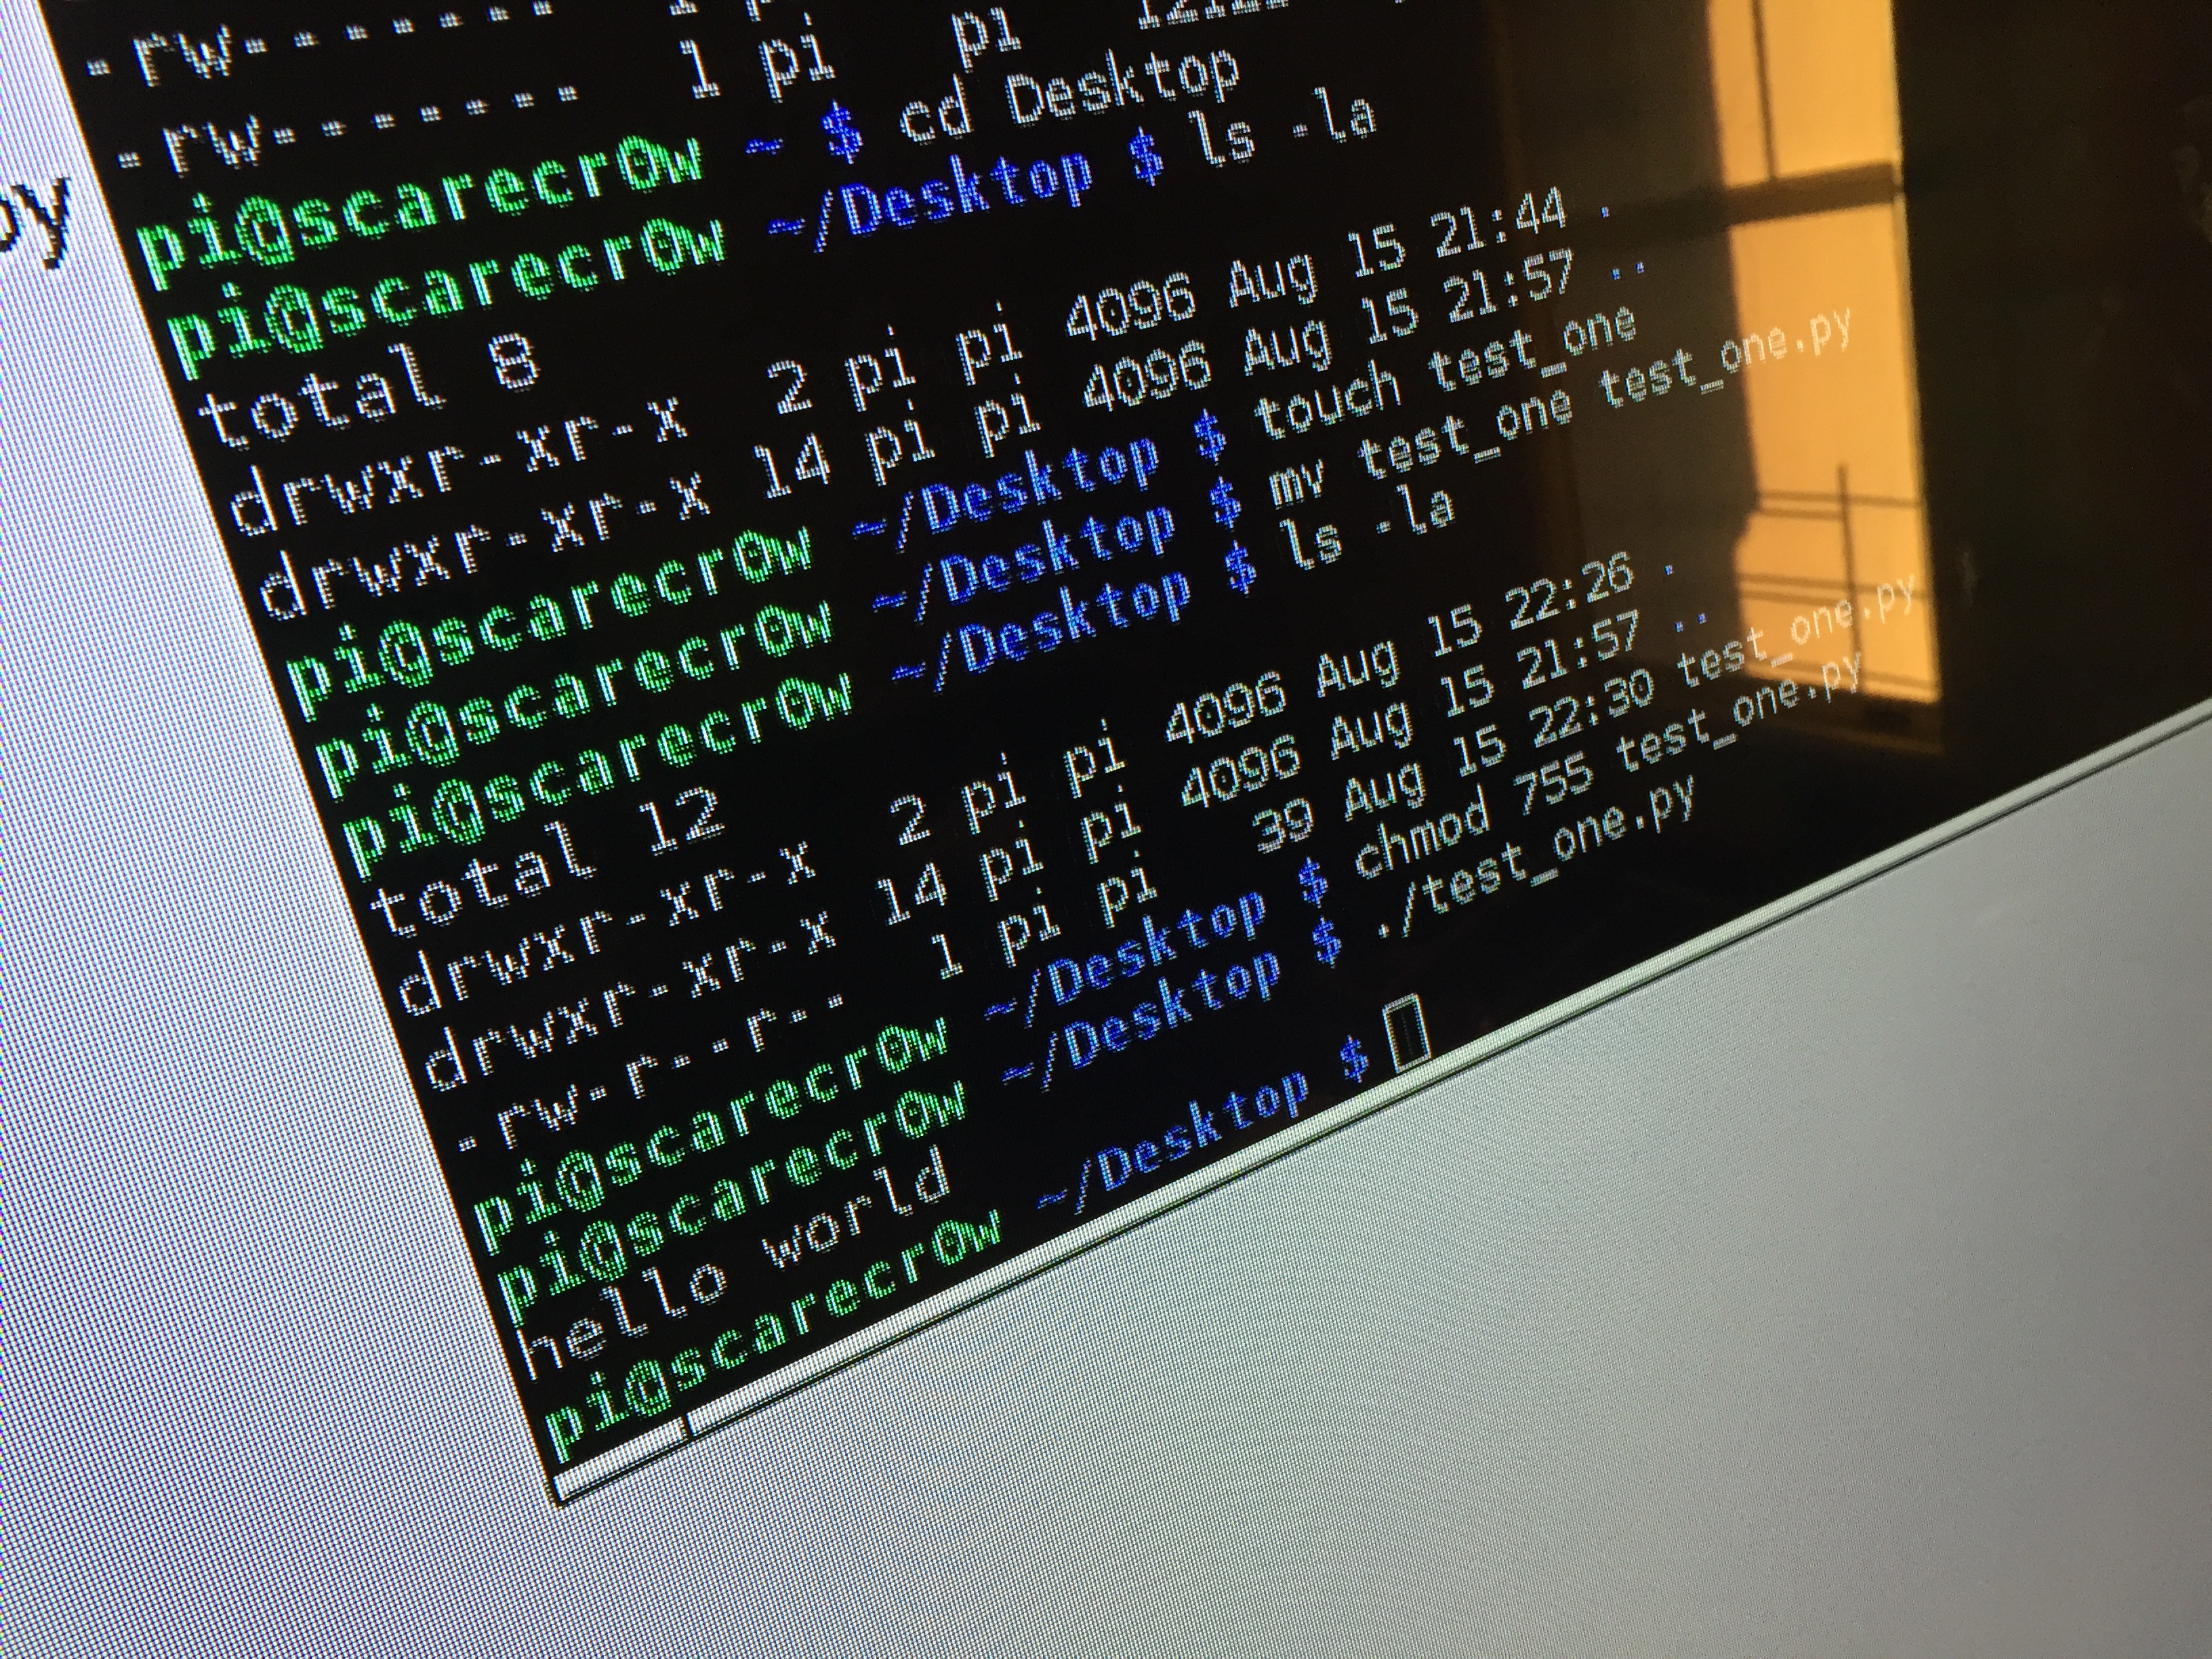
You are going to need to go to Desktop. You do this by typing “cd Desktop”
What you need to do to execute the file is “chmod 755 test_one.py”
That makes the file executable. now we can run it.
Type:
./test_one.py.
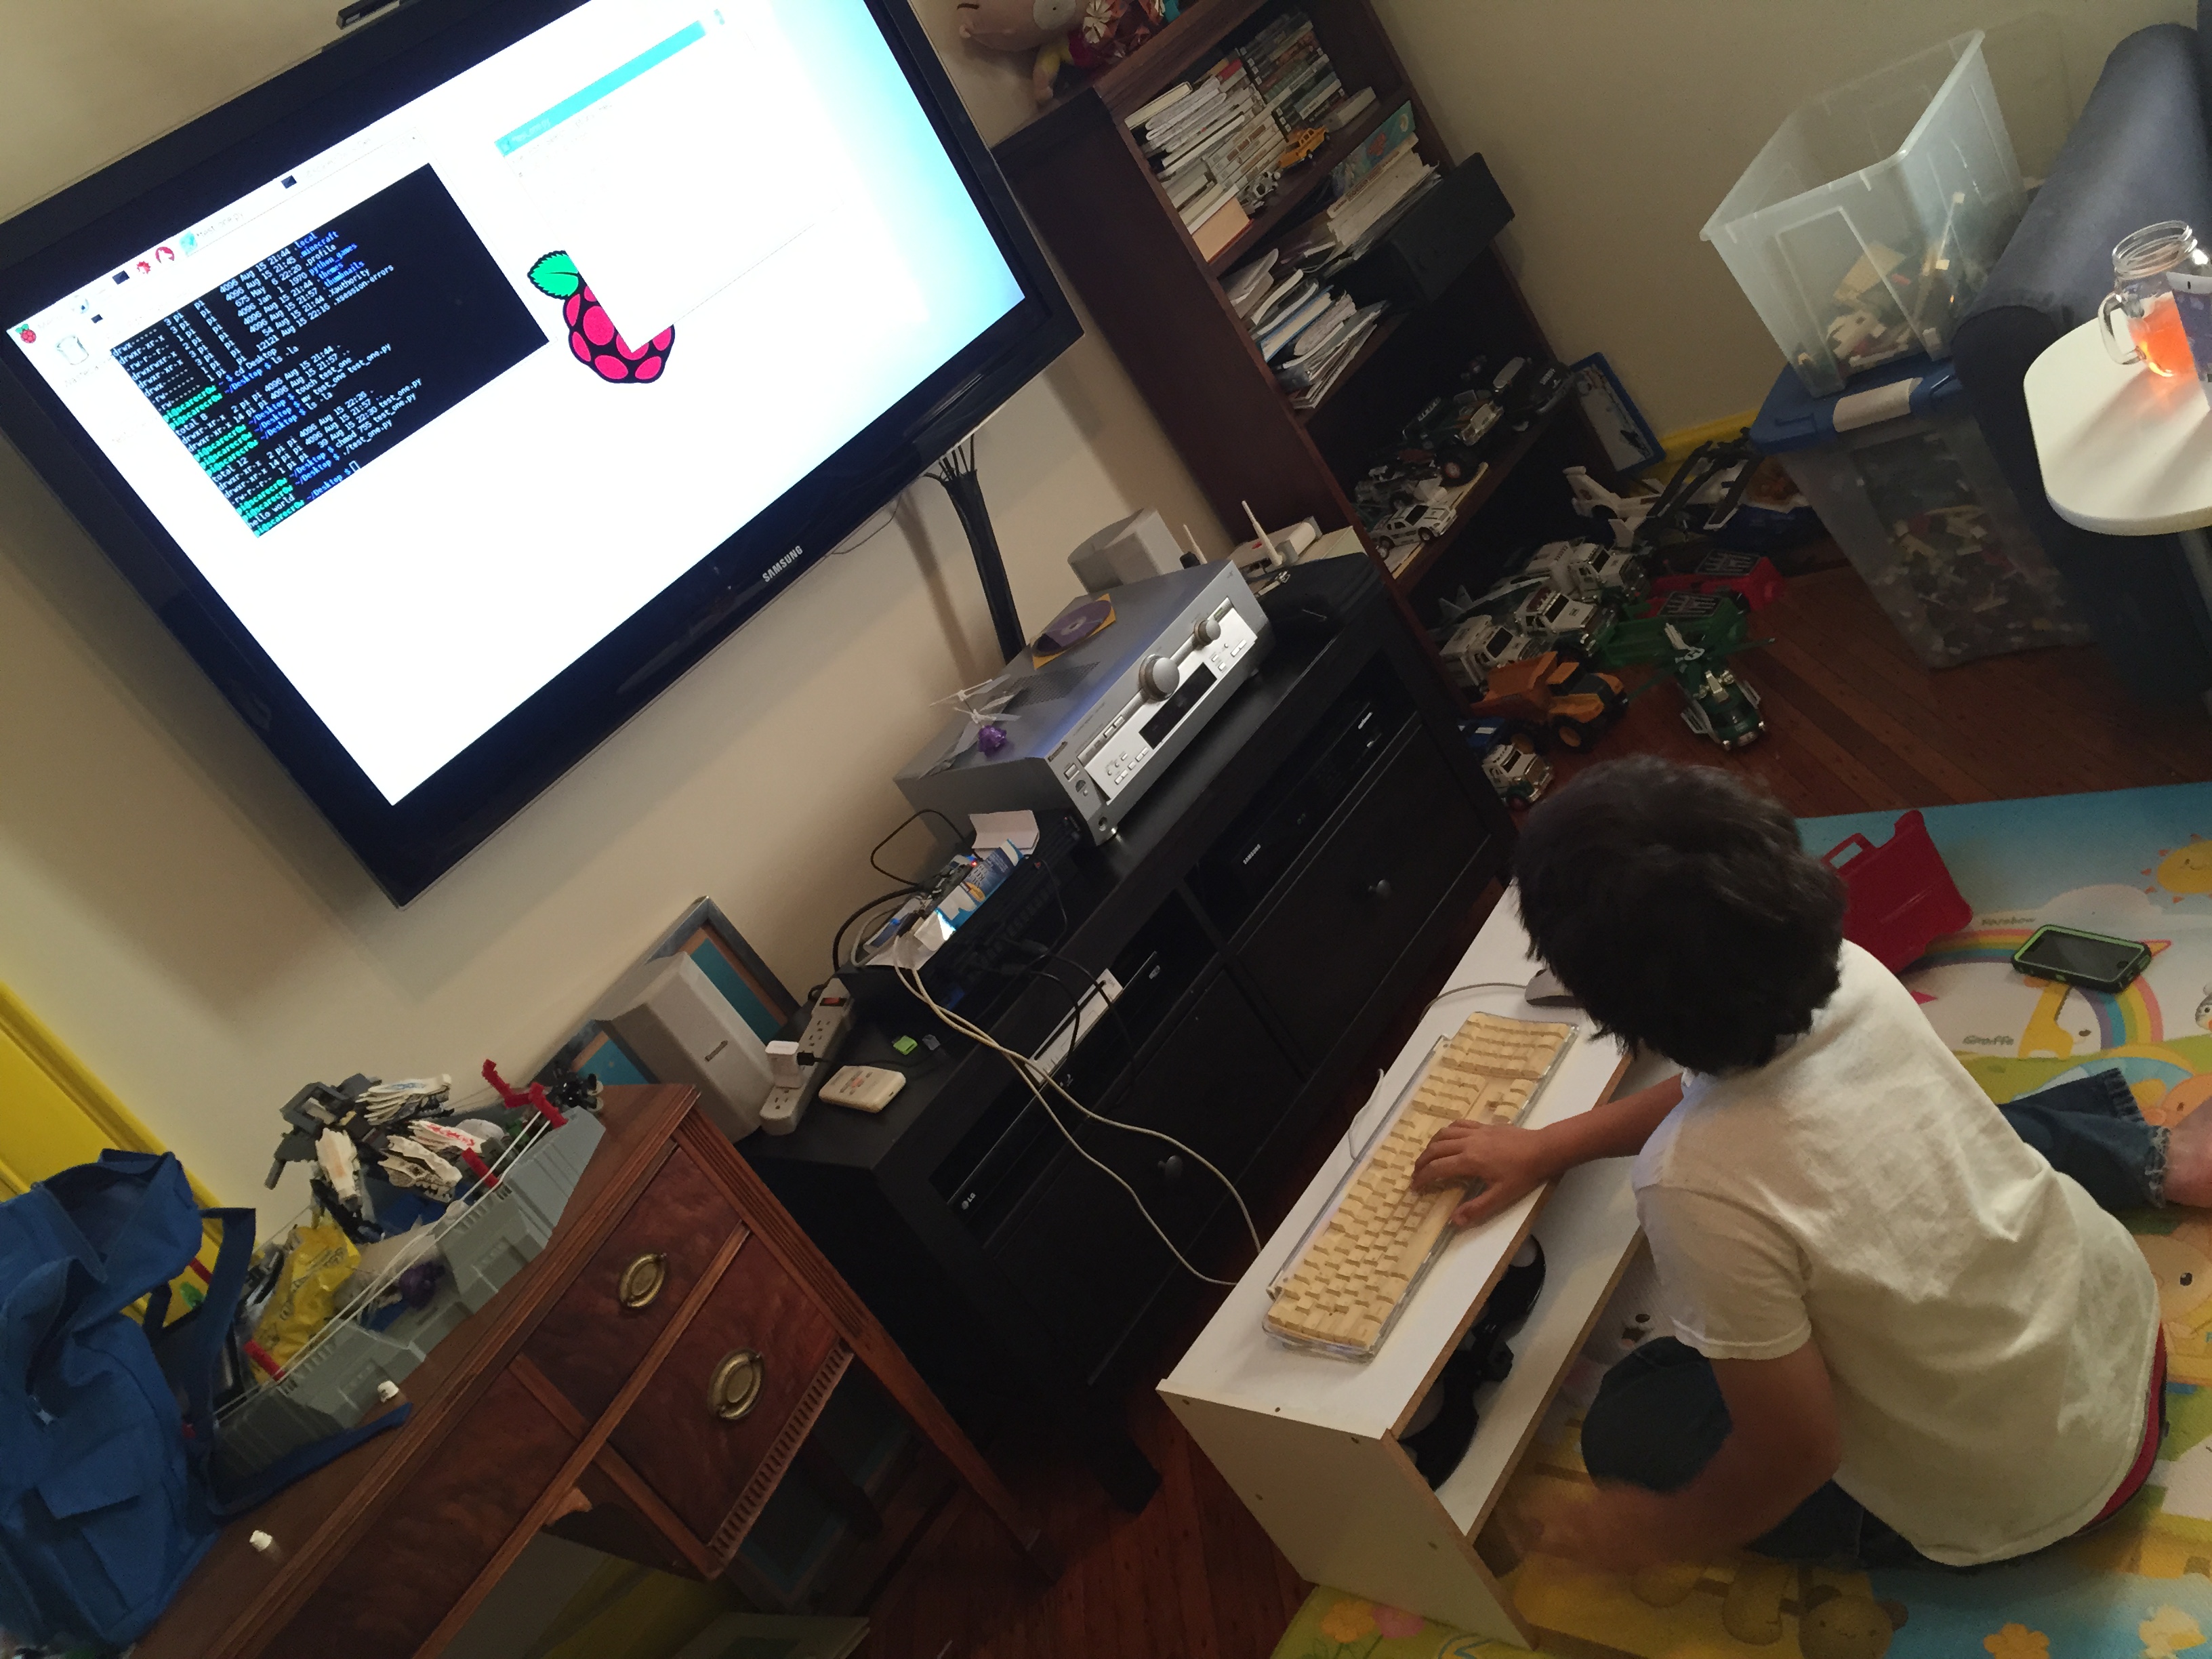
Your pi will say…drum roll please………….it will say,…Hello world to you. 😛
LET DOWN!!!!!!!!!!!!!
At least I understand why i did it.