


Originally this project was for my schools science fair and i worked on it for 3 weeks and made many mistakes. While I was building the lasers we were watching star wars, why star wars? I will give you time to think…………….THEY HAVE LASERS. We were watching Star Wars and playing with real lasers. That was cool. Technically, I also mounted cutting lasers on legos. Lego-lasers and star wars. It was worth all the extra time it took.
This is article five of five, from my 2017 science project “Rock, Paper, Lasers” – this is the article that ties it all together. It’s worth reading about how I got here, how people reacted… some of the mis-steps and side goofs, and how I tied it all together and salvaged a 100% score.
If you want to learn how this was done, please check into article one, which is how to turn servos, article two on how to build a laser firing platform with servos, and then article three on how to have fun with laser platforms on servos with cameras. Article four is the project which I presented to my science class.
CLICK HERE: to start slide show
I over-built the entire thing. From too much code to too many lasers to tearing apart an old DVD drive I took a lot of side-trips. It was all a lot of fun and I learned a lot about lasers (masers), lenses, servos, python, and about how to finish a project inside the guidelines. Middle school is a lot to get used to and a big science project really helped.
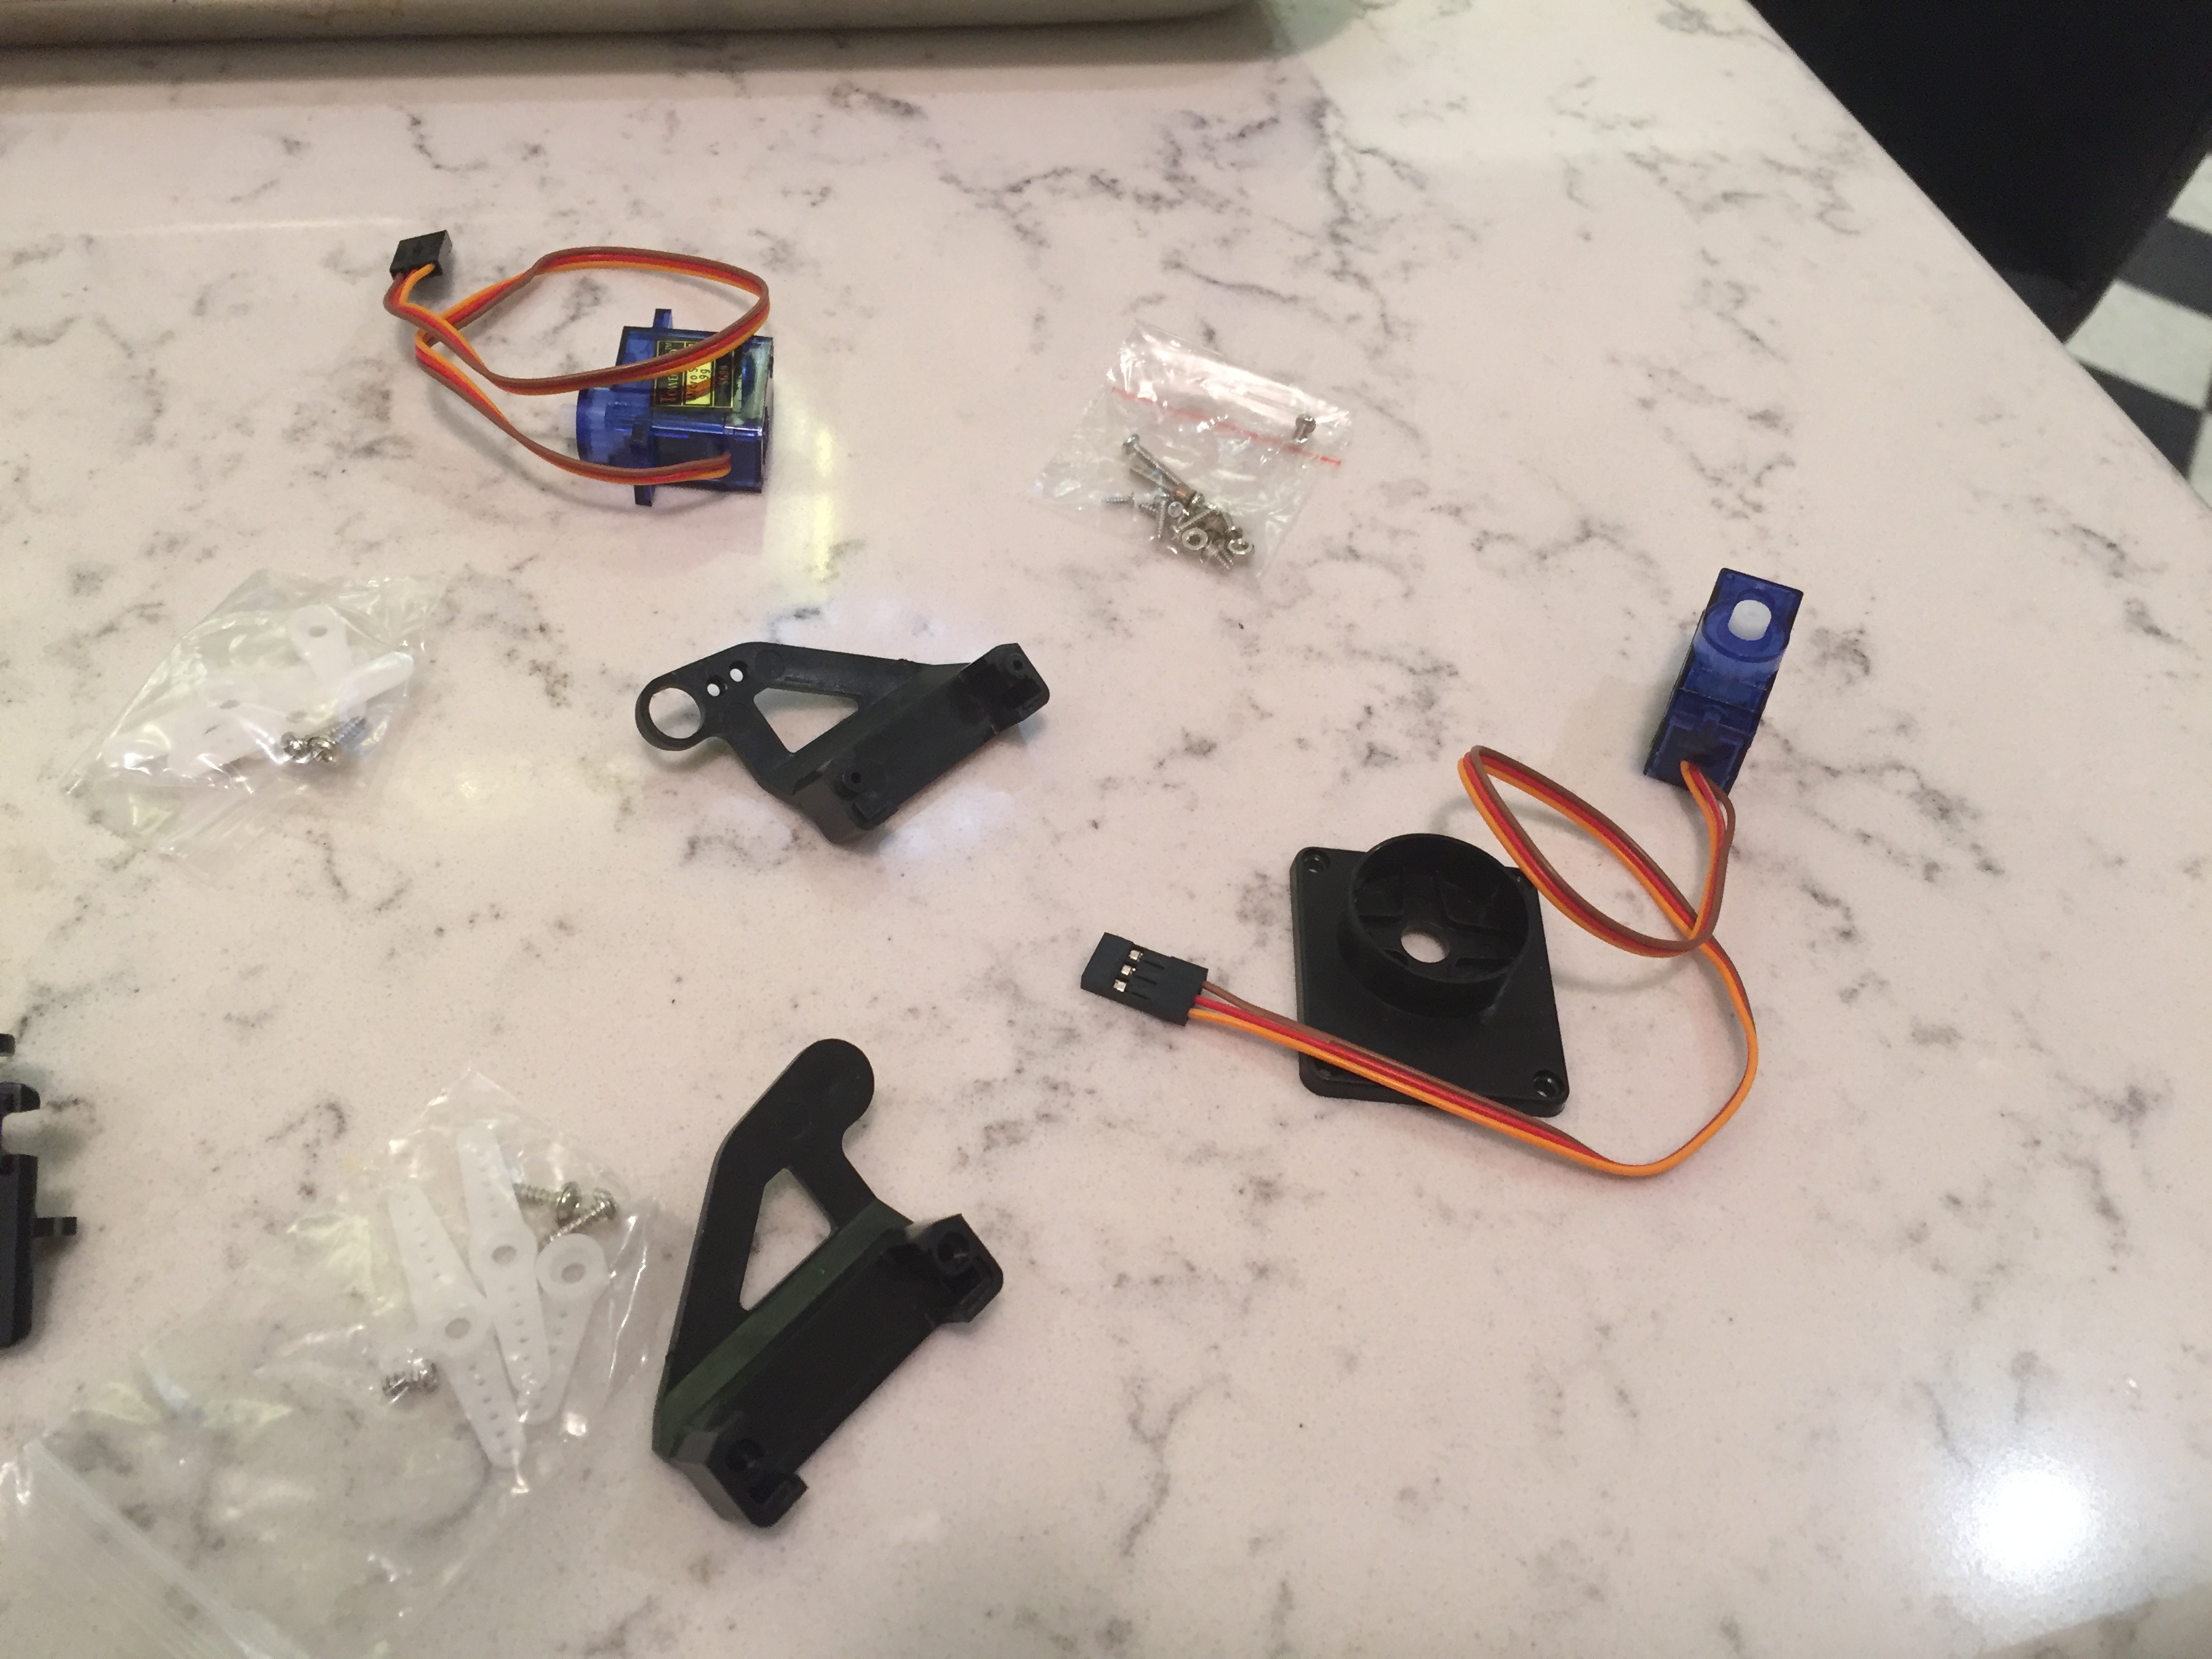
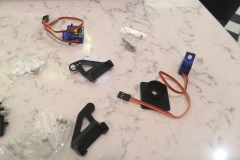
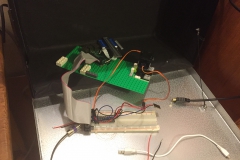
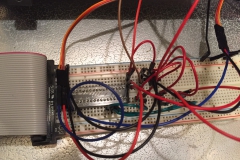
My dad had got full set of pan and tilt servos from adafruit and then I lost it, luckily he did buy a back up too. As usual, he ordered a second one but that one was not pre-built and I had to build it from the pan and tilt kit and some servos, so that added a session. I am glad he did order both though. After doing the project i found the missing servos in the corner of the living room. Now I have an extra one to play with, and I know how to construct servos to build pan and tilt platforms.
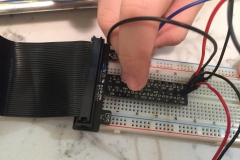
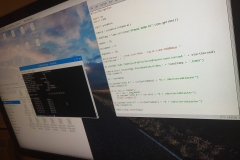
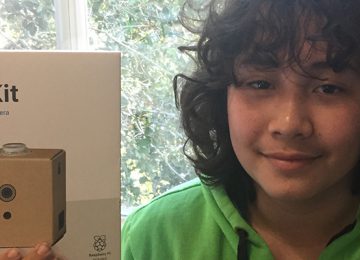
The Raspberry Pi can’t make servos turn on its own. The GPIO is not programmed to do that. Luckily someone in the Raspberry Pi community changed the core programming and made it work with some custom code called “servoblaster.” Installing servoblaster was really easy. Their web page has a great guide.
The process of turning the servos with servo blaster was a long process of trial and error. Eventually after revising the program a lot and sometimes taking shots in the dark (guessing) I finally got the program done (click here to see what I came up with!) and workable and to make sure it worked I strapped a camera onto the back of the tilt motor (the top motor) and ran the program. the program only ran the pan motor (the bottom one) but this wasn’t my final program. this was just a test.
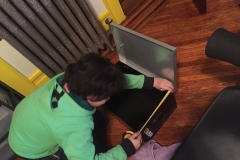
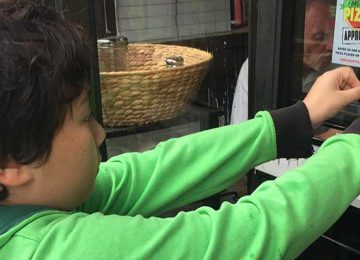
The next step was to build the “Fire Box” this box is made out of an old iron box. on its own this box would be a very bad “Fire Box”, but luckily I am not using it on its own, I am lining the insides with “Black Wrap”/”Cinema Foil”. “Black Wrap”/”Cinema Foil” is the opposite of reflective. It’s like really heavy aluminum foil wrap from the kitchen, but with one side colored completely black with no reflection. It will make the box safer because it will absorb any laser reflection or any accidental target error.
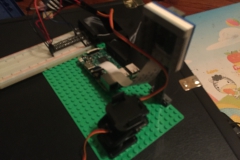
Moving the servo was easy now but getting the motor to stay still wasn’t. When the motor turned, the entire thing moved a little. Eventually came up with a solution, one that i used on the explo 6 rocket ship phase one/two, “Lego Case”. There are pros and cons to building a lego base, but the reason i choose it is because of the infinite customization it has.
There are problems with a lego base, one of the most common one that happened to me was that the components wouldn’t fit smoothly into the lego case, so when ever this happened i had to fish out some very specific pieces, that took a lot of time. I have a very deep lego box and a lot of cool parts but it takes forever to find anything. I was also a little concerned that lasers and legos might not mix so well.
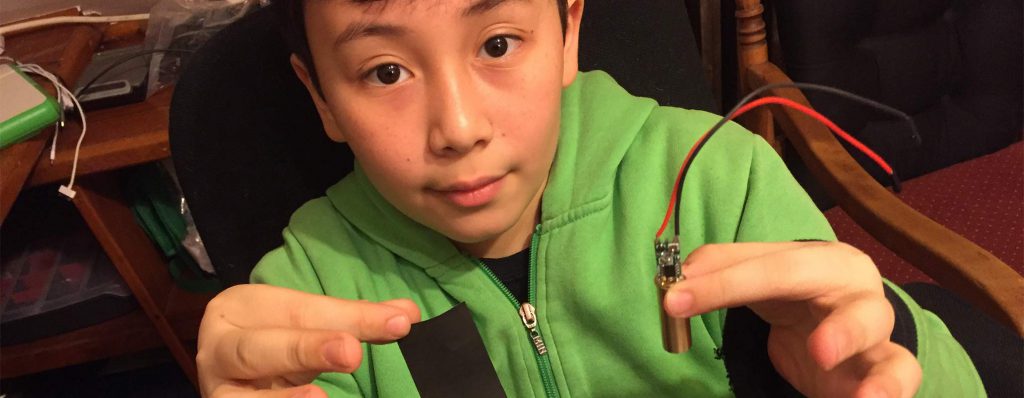
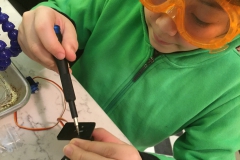
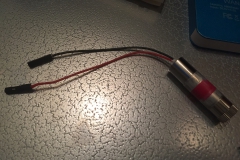
Dad ordered three small cutting lasers from China online. They took a little time to get through customs and the shipping company had to call us to get one through, but in the end it all worked out. Placing the lasers on the motor was easy, the only problem was solved by an age old method : scotch tape.
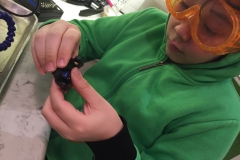
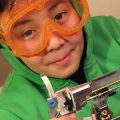
After many tries with the green laser it cut nothing. It made marks on the orange paper, but there was no cut. While i was mostly good about wearing the googles while the lasers were firing, my dad was not as safe. he was watching to make sure i don’t get hurt, he kept forgetting his and a few times forgot to warn me.
The laser that actually worked the best was the blue laser, it curt through every color but white in under 5 seconds. Most in 2 seconds or less. The red laser took longer and did not cut through white and it’s complementary color (green).
To try and get the green laser working I looked on the internet for advice. I thought after reading a few articles that maybe a second lens, one I could focus would make a difference. The green laser had only one focus, and could not be adjusted. We have tons of old computer junk here and there are lenses in every DVD and CD drive, so I took a side-trip tearing an old drive apart. I got the lens out and made a focusing “wrapper” to fit around the laser and hold it in place. In the end it made the laser less effective.
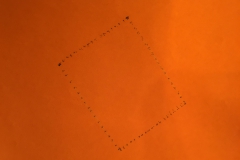
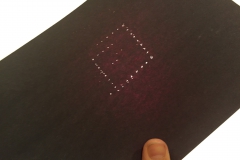
The code I wrote (click here to read code) to fire the laser was for the bottom motor to turn to the right position so it is facing the right way avery time and then step by step use the top motor to tilt the lasers up, the lasers would fire every 0.5 seconds to cut a nice line of dots. Later when I had time to play I used this to draw squares.
Although the thought of using multiple lasers was cool it did not meet the guidelines of the science fair, because I had too many independent variables. I was changing the color of the lasers, the color of paper, the type of laser, etc. Science fair projects can only have one independent variable one dependent variable, and and infinite number of constant variables.
In the end i used one laser and alternated through different sheets of paper, specifically origami paper because normal paper and construction paper had an inconsistent paper thickness. Origami paper on the other hand has a very consistent paper thickness so we used that.
The blue laser cut through everything quickly and the green laser did not cut at all. This meant that the red laser was needed for the purpose of measuring anything. The thing that was going to change colors had to be the origami paper. Use red laser, measure the time it takes to cut through different colors of origami paper. Now that fit the needs of my science project guide.
The final code only shot one laser, the red one. It was actually based off of the much earlier code that i wrote as a prototype. the program would tell you to wear the right set of goggles, and then wait for a return on the users keyboard to firs the laser. It also used the pan and tilt motor to keep it in the direction only occasionally shifting the angle of it. The servo made sure I were at 90 degrees to the paper before firing. Not really that useful, I could have just taped them to some lego. The servos were fun to build.
Data collection was the easiest part of this entire process. It took a few hours, but it was really easy. Change paper, wear glasses, fire laser. I used the camera inside the box to measure the time it took to cut the paper. The camera time code made it really easy. I had to use google’s word processor and spreadsheet to do the work, so there was a little to learn and struggle with but it wasn’t that hard. All that work and time could have been easier if I knew the answer first, but that’s what made it a great science project too.
Google docs made it easy to put together. It wasn’t as slick looking as what Marwa and I did last year with my water project in 5th grade in elementary school but it was easy to use. Putting backgrounds in behind my work and making them bright or transparent, then putting work over it is my favorite way to make science “slides.” (Click here for “slides”)
I had a format to work with and to follow for the project slides and for the project report, and that was a lot easier than last year too. I printed my slides for a big “science board” because computers can fail. I didn’t end up needing the board. Background and “extra” information was really easy too, my friend Jonah got me a book on Star Wars science that had an article on how the “Death Star” laser was impossible because it would make a giant planet-not-hitting space triangle of three different lasers going around planets and not hurting them. The history of real lasers (masers?) was easy to find online.
REHEARSE if you do a science project you would have to present to the class. I had rehearsed for so long, i felt like i did well as I possibly could have. A few days later i found out i got 100% and by a large margin voted the favorite project in the class. It could have been that i brought jolly ranchers as a snack though. Jolly ranchers as presentation snacks make a great bribe. Everyone responded really well to the project too. Kids like lasers.
If i were to do this project again i would add an optical targeting with the camera. I’d love to have something move around the box and have a laser target it. I might totally skip the part about tearing up an old DVD drive, but I did learn what a calumniating lens is, and how to improvise one.
Special thanks to my science teacher Ms. McCormack for letting me do this as a project!!! I never expected a YES when I handed in the proposal. I had a second one ready just in case. Next year. 🙂


Pingback: Tales of a 6th Grade Maker: Tribulations of a Laser Cutting Science Fair Project | Make: